Phantomy AI - Software Guide
Slides, Reels & Shorts, zoom and drag, and hands-free scrolling.
Contents
Initial setup (Mac). Phantomy needs two permissions before it will work: camera access and accessibility control. Follow steps 0 to 2 in order.
Step 1: Allow Camera Access (Mac)
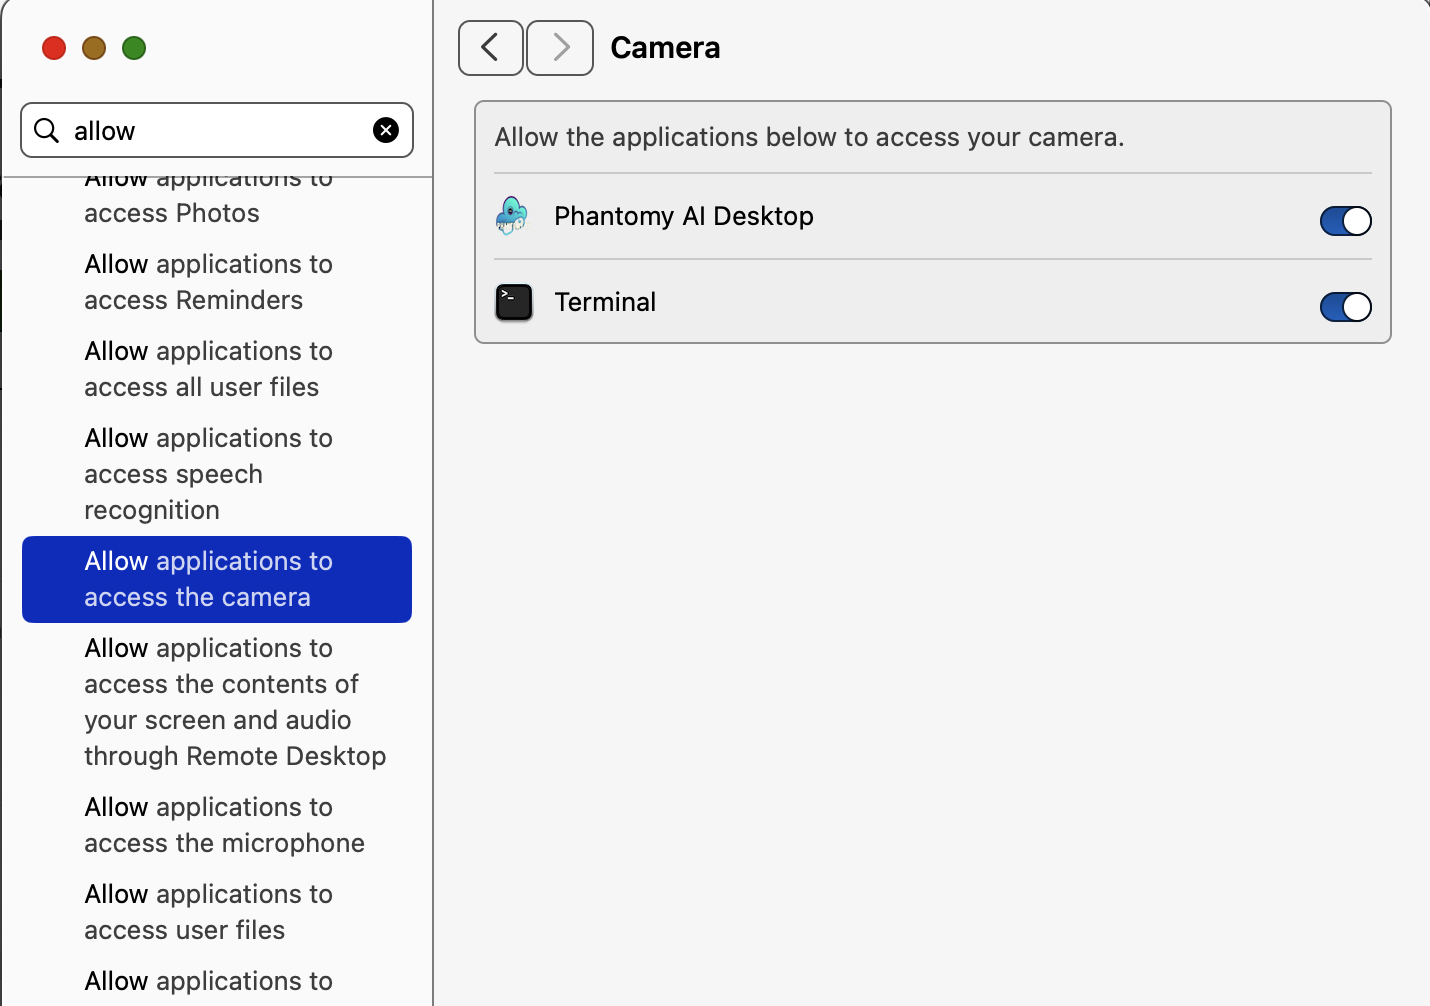
Phantomy AI needs access to your camera to detect hand gestures.
How to enable on Mac:
- When you first launch Phantomy AI, a popup will appear
- Click "OK" or "Allow" to grant camera access
- If you missed it: Go to System Preferences → Security & Privacy → Camera
- Check the box next to Phantomy AI
Step 2: Allow Phantomy to Control Your Mac
Phantomy AI needs permission to control your presentation (send keyboard shortcuts to change slides).
How to enable on Mac:
- Open System Preferences (or System Settings on newer macOS)
- Go to Security & Privacy → Privacy tab
- Click on Accessibility in the left sidebar
- Click the lock icon 🔒 at the bottom and enter your password
- Find Phantomy AI in the list and check the box next to it
- If Phantomy AI isn't in the list, click the "+" button and add it
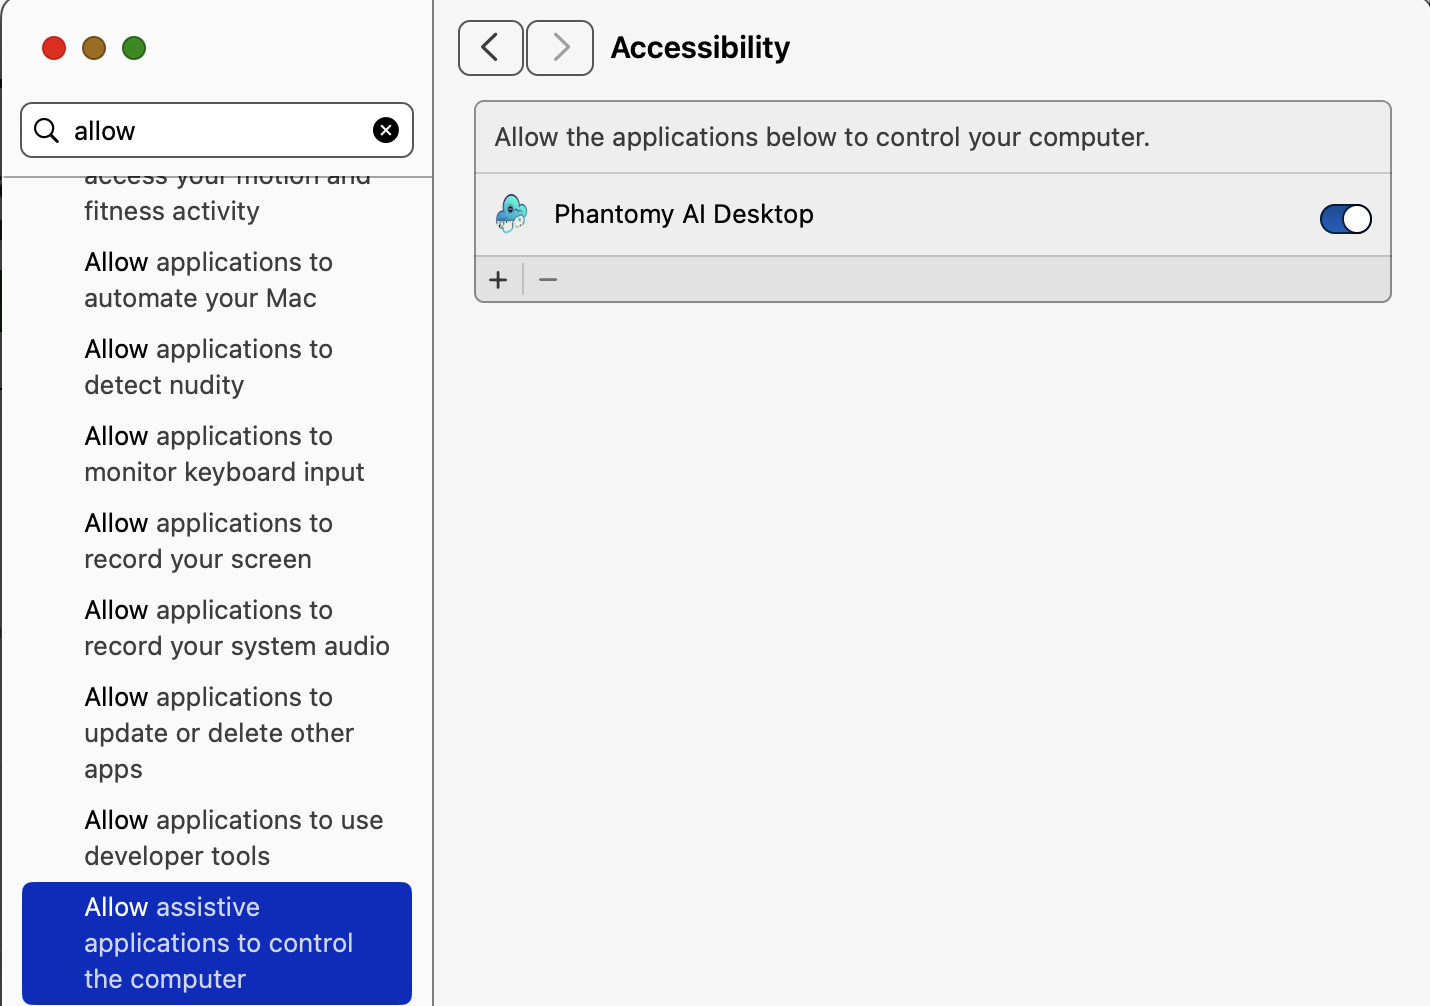
Check the box next to Phantomy AI to allow it to control your computer
Troubleshooting: If the app says “Starting” and asks for camera permission but never actually starts, grant access, stop it, and relaunch. It should work from then on.
🖐 What the camera needs to see
Your right hand, open, inside the frame. Phantomy ignores everything else.


⚙️ The Phantomy Panel
Where everything is set: Start/Stop, your mode, your camera, your on/off gestures.
Phantomy lives in your menu bar. Click the icon and the panel drops down; it closes as soon as you click away, so it never sits in front of your work.
The side rail shows what Phantomy is doing while it runs. It sits above full-screen apps, so you can see it while you present.
- Light blue: active, your hand is driving.
- Red: paused. Do your activation gesture to take control.
Changed a setting? Press Stop, then Start. Settings are read when the camera starts.
✋ Turning control on and off
Three options each way. Pick the pair that suits your hands in the panel.
Activation: hands control to you
Deactivation: takes control back
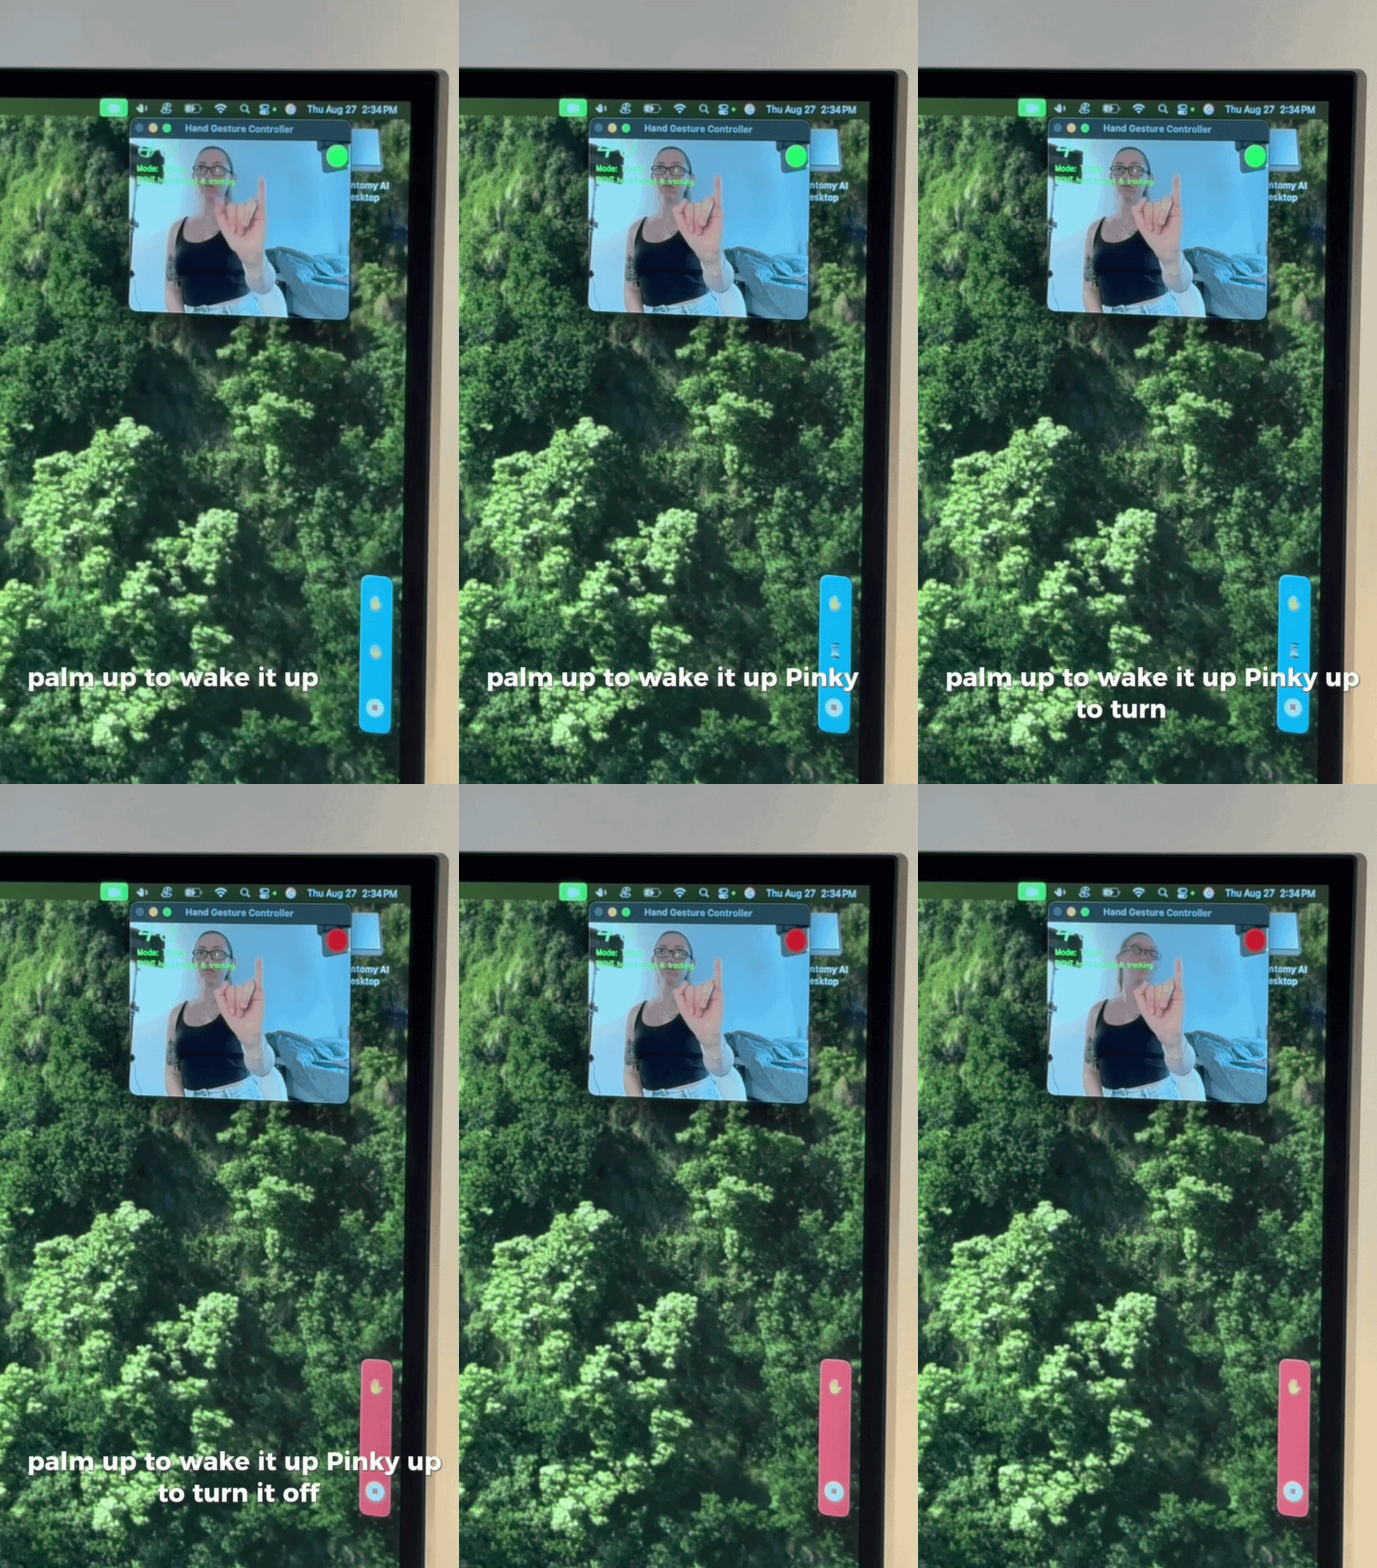
An example of a deactivation gesture: option 2, Hold pinky out. Any of the three above works, so pick whichever one you prefer in the panel.
🔀 The three modes
Phantomy does one job at a time. Pick the mode before you start, and only that mode's gestures are live.
Right hand only, in every mode.
📊 Swipe: slides
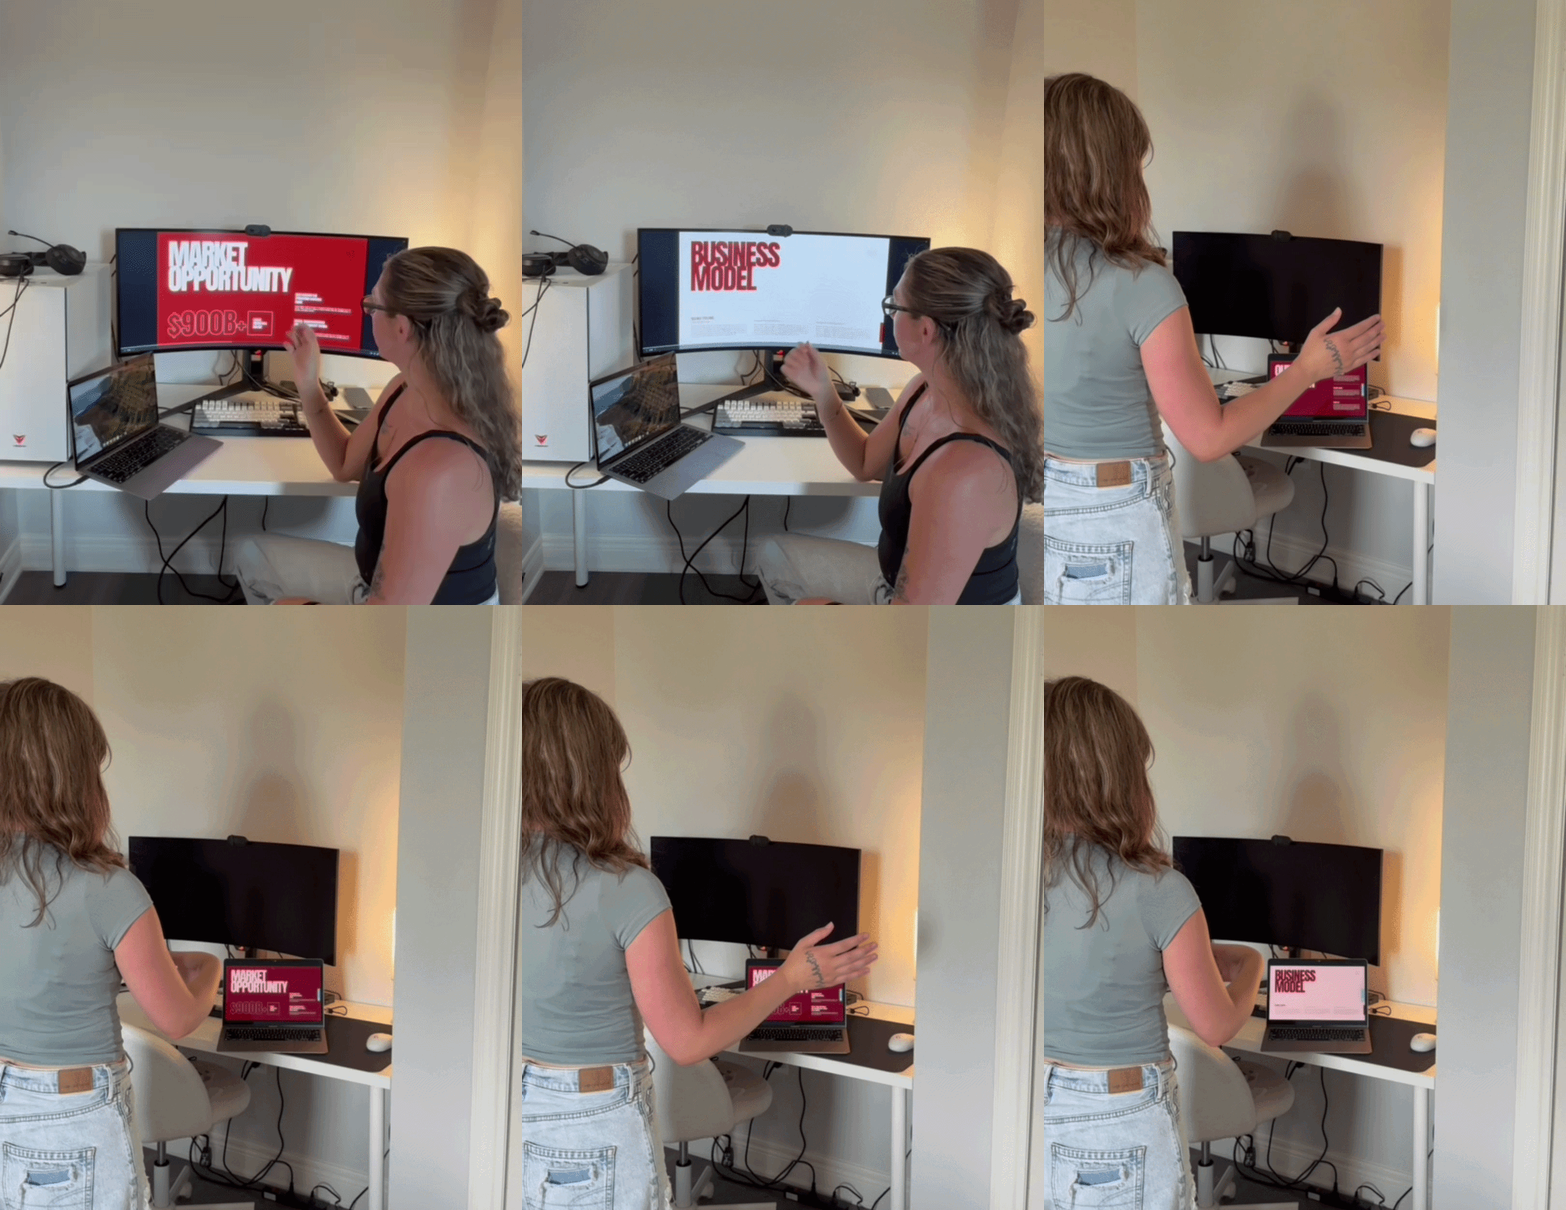
Mode → Swipe, Swipe sends → Slides. Works in Keynote, PowerPoint, Google Slides and PDF viewers.
.gif)
The hand flip is required to go back. It stops you reversing a slide by accident mid-talk.
Distance does not matter: Phantomy measures the swipe against the size of your hand, so it works from your desk or from across the room. One swipe moves one slide.
📱 Swipe: Reels, Shorts & TikTok
Move through a vertical video feed from across the room, with no keyboard and no phone in your hand.
Set it up:
- Open the panel and choose Mode → Swipe.
- Choose Swipe sends → Reels & Shorts.
- Press Start, then do your activation gesture. The rail turns light blue.
- Click once on the video so the player is the active window.
Then it is the same gesture as slides:
- Next video: thumb up, swipe right to left.
- Previous video: turn your hand over so your thumb points down, then swipe left to right.
Works with YouTube Shorts, Instagram Reels and TikTok in the browser. Because Phantomy measures the swipe against the size of your hand, it reads the same from the sofa as it does at the desk.
Click the feed first. Phantomy sends the same keys your keyboard would, so the player has to be the thing you last clicked on. If nothing moves, click once on the video and try again.
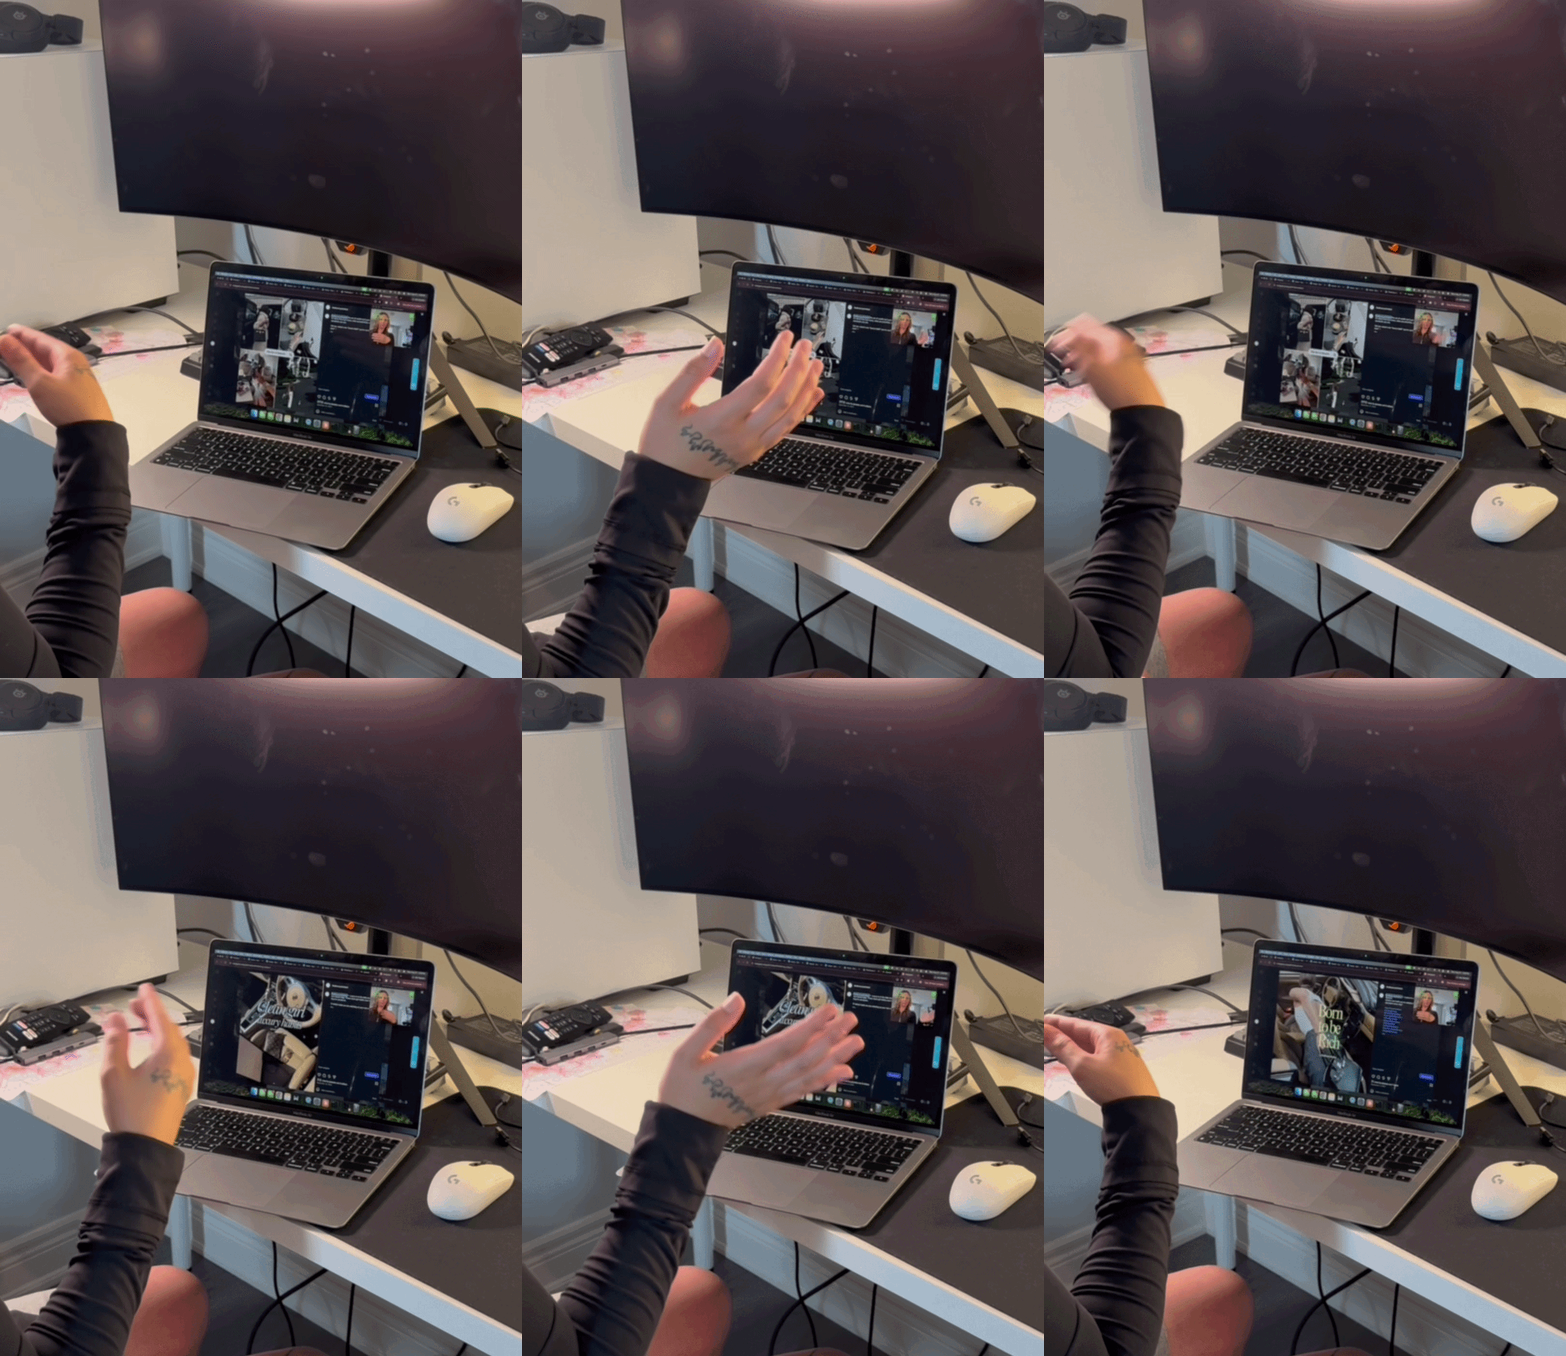
🔍 Zoom & Drag
Mode → Zoom & Drag. Two gestures, and you can move between them freely.
Pinch to zoom: thumb and index up, other fingers down. Spread apart to zoom in, together to zoom out. Raise your pinky mid-pinch to keep going past what two fingers can reach.
Close your fist to drag: grab and move the page like a paper map, in any direction. Open your hand to let go.
Works in browsers, Miro, Figma, Preview, Photoshop, Illustrator, Maps, Blender, VS Code, Notion and Obsidian.
Zooming back the other way? Pause for a moment first, or the fingers relaxing reads as a zoom.
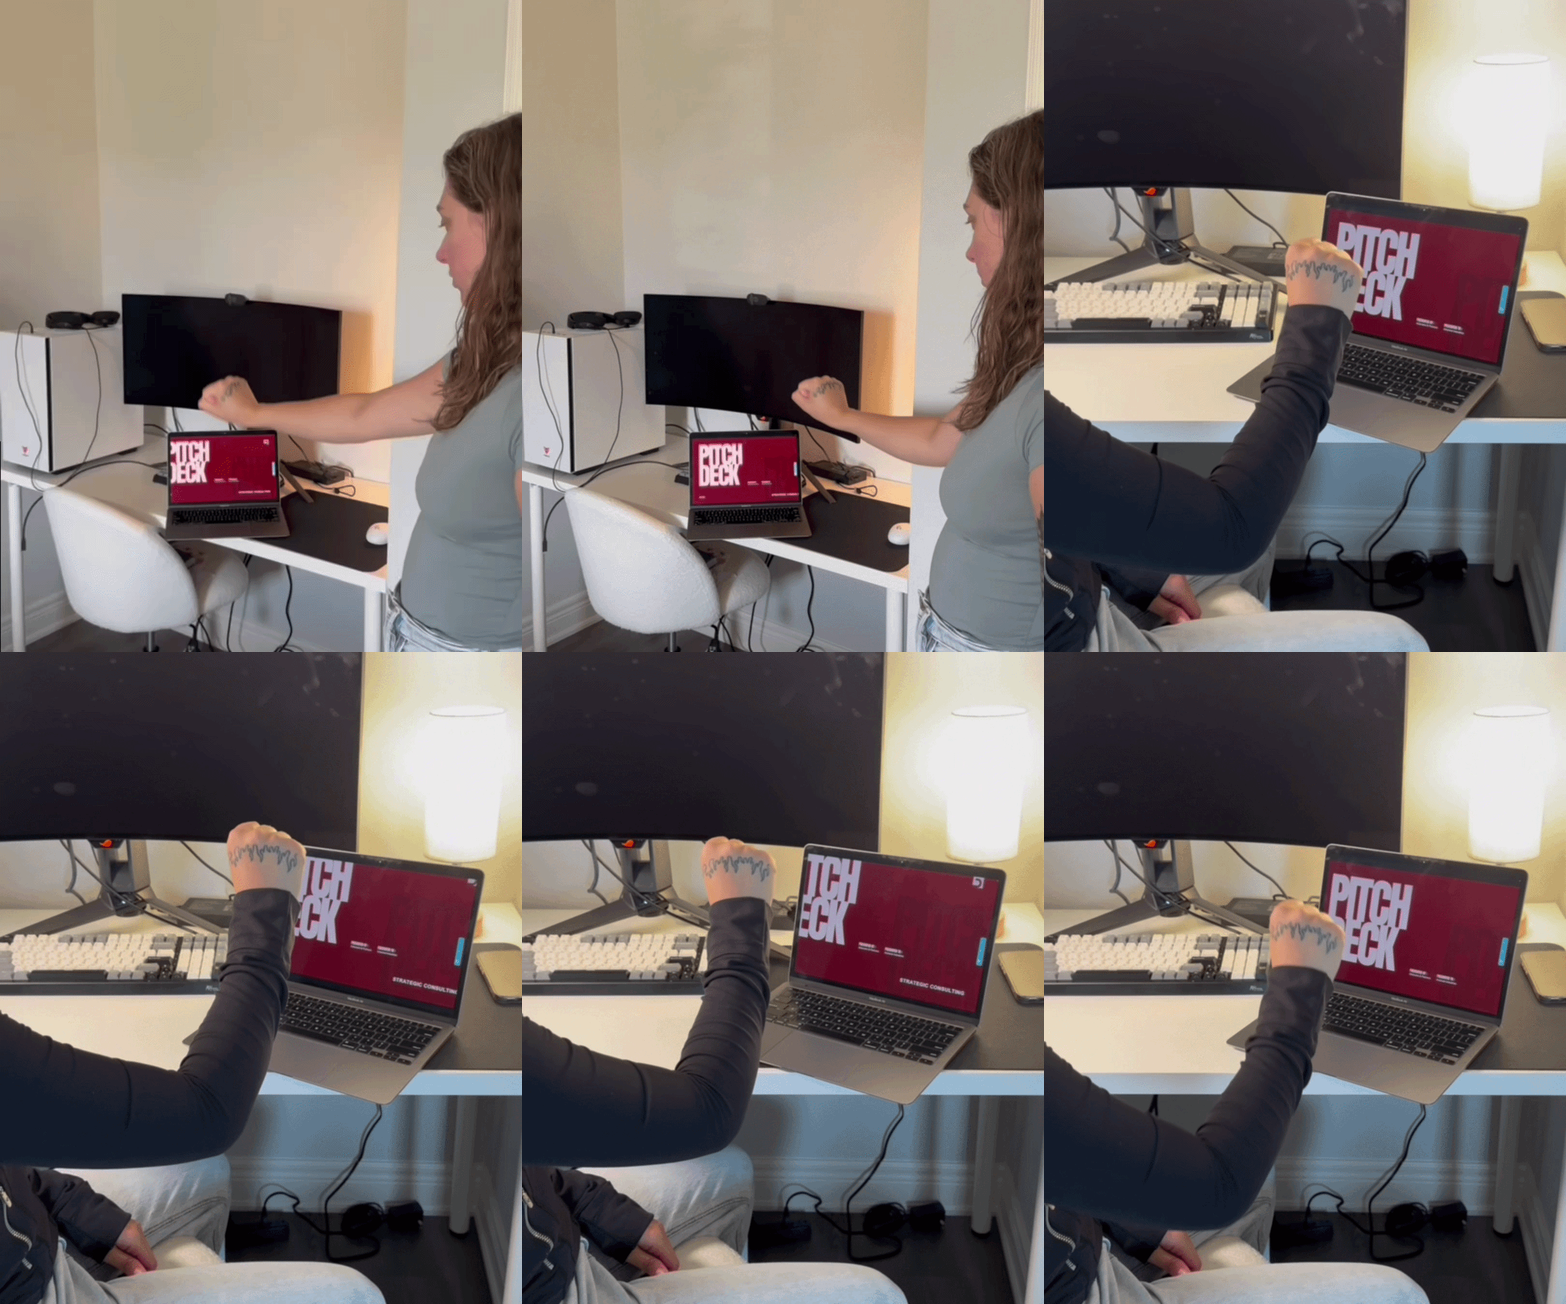
📜 Scroll
Mode → Scroll. For a long article, a contract or a set of docs, without touching the trackpad.
Scroll mode has its own on/off switch on top of the usual activation gesture, because a thumb or a fist flashes past constantly in ordinary hand movement.
- Thumb up, 3 seconds: scrolling on.
- Fingers curled down: scroll down.
- Fingers up: scroll up.
- Anything in between: holds still, still switched on.
- Point, 3 seconds: scrolling off.
Hold a direction for about 3 seconds and Phantomy speeds up, so a long document is one gesture instead of twenty.
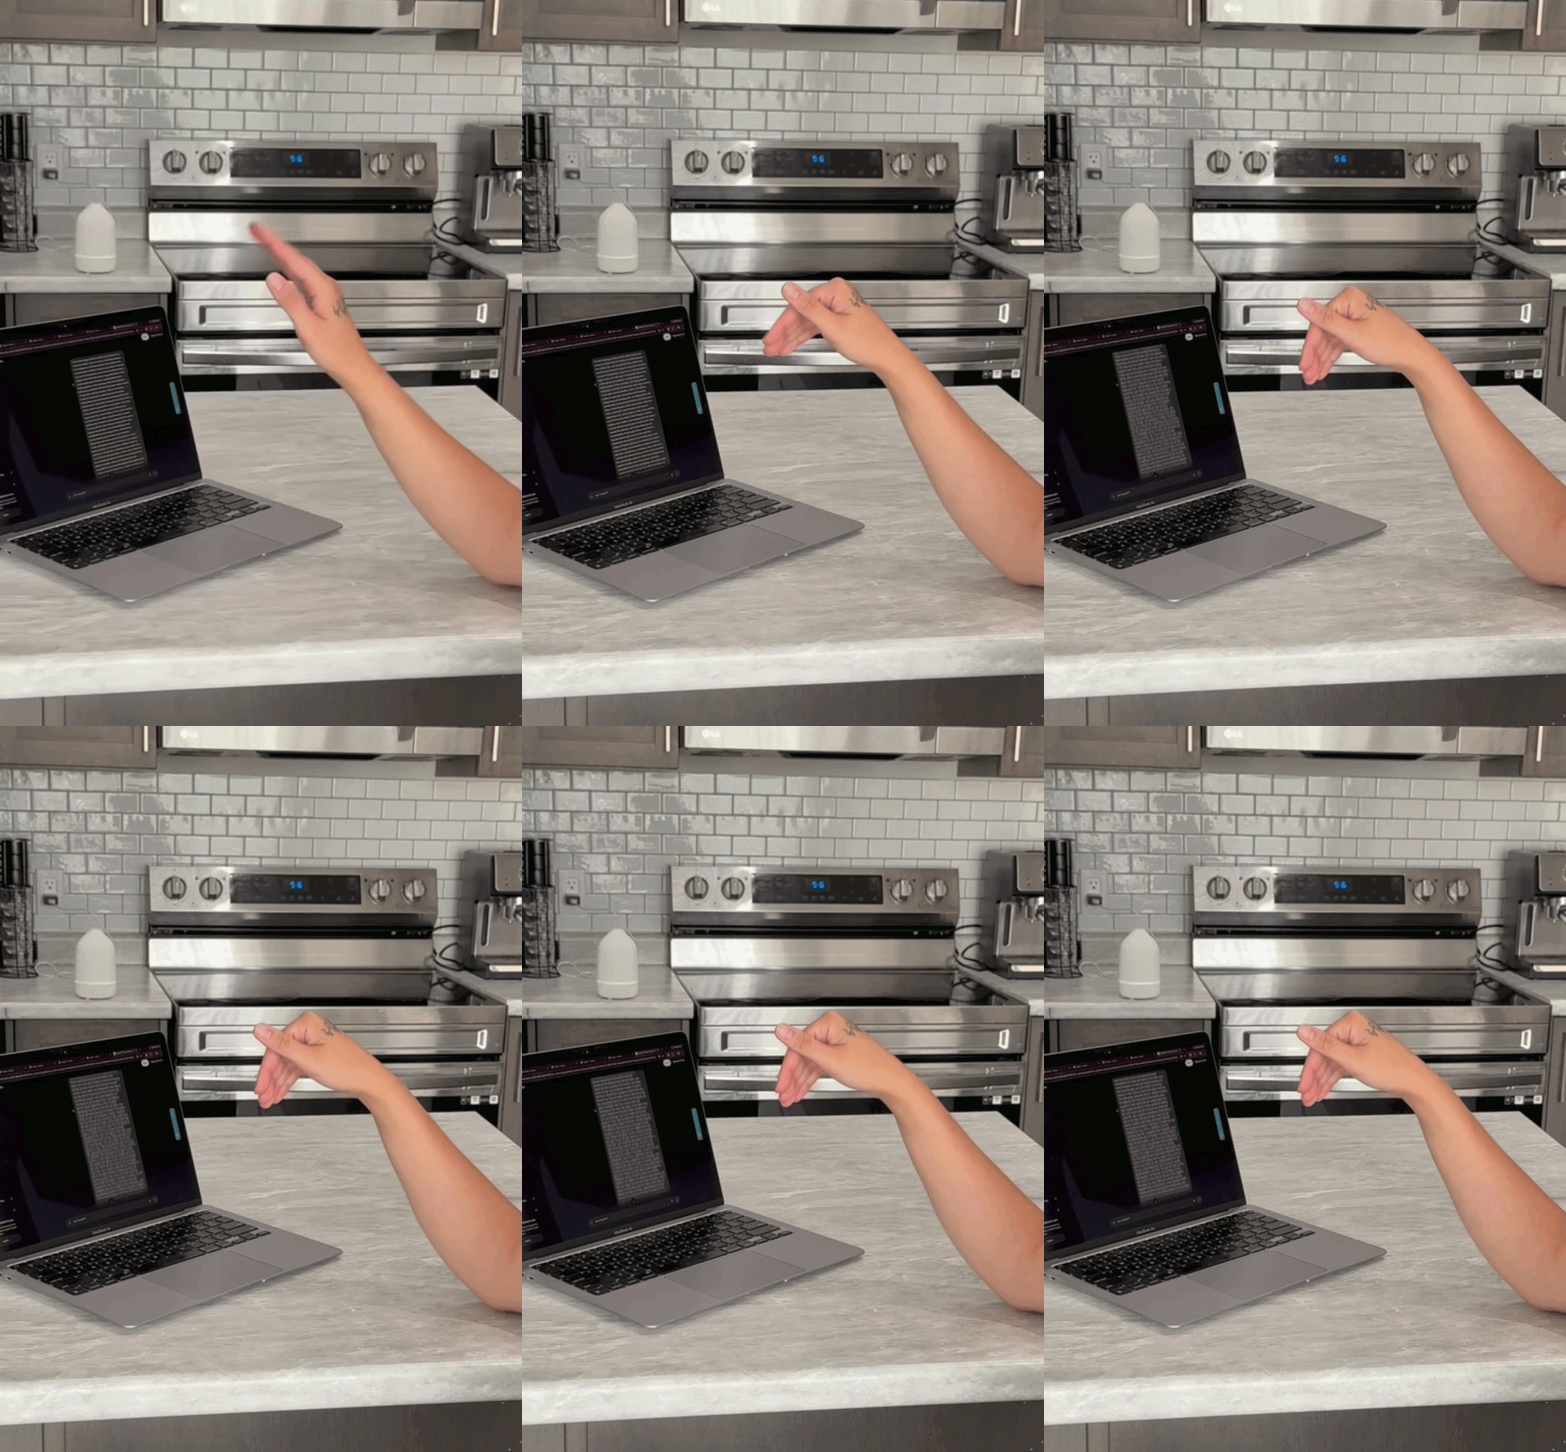
starts it
scrolls down
scrolls up
stops it
Important Notes
- Perform gestures clearly and deliberately
- Wait for gesture recognition between sequences
- Follow the exact order as shown
- Look for visual feedback (the rail colour) after each gesture
- Phantomy follows your right hand and ignores everything else in the frame.
- Only one mode is live at a time. Pick the mode before you start. A pinch does nothing in Swipe mode, and a swipe does nothing in Zoom & Drag.
- Phantomy sends the same keys and scrolls your keyboard and trackpad send, so the app you want to control has to be the one in front. Click on it once before you start gesturing.
- Changed a setting? Press Stop, then Start. Settings are read when the camera starts.